
How To Create Neat Pictures With Nokia Pureview 808
2022-12-05 Fixed some errors and added misc info
2021-12-08 Final cleanup, brought some glitter to the post
2021-08-14 Fixed errors, added some additional stuff.
If you found mistakes please [report me back] .
Some useful information accumulated during last three years of Nokia 808 usage.
Most of the advises mentioned here could be easily applied to any camera or smartphone.
░ CAMERA MOD [MODIFICATION OF CAMERA APP]
At the very beginning you need to make sure that you have installed [Osenok & Timoxa_ resolution patch]
.
It removes default artificial limitations: not 100% jpg quality and output size restricted by 15Mb.
Currently it is moved up to ~41Mb per image, can’t go bigger because of internal low level system limitation.
Original resolution: 7152x5368pix
Original file size: around 15Mb [85% JPG quality]
Mod resolution: 7728 x 5368pix
Mod file size: ~41Mb [100% JPG quality]
COMPLETE LIST OF CHANGES
-
Zoom preview frame is removed in all modes [to make zooming smoother by touching the screen as the buttons used in video recording do not give the desired effect].
-
All zoom coefficients are recalculated for each resolution in all modes: pixel by pixel, there is no interpolation [a.k.a. artificial stretching], the original idea of Nokia programmers is preserved.
-
In “Automatic” and “Scenes” modes, the default 16:9 photo resolution is increased to 9 MP [4000x2248].
-
The camera icon is made in classic style when switching between “photo-video”.
-
Now it is possible to get rid of dark corners when shooting in 41 MP resolution on a sunny day with short shutter speed. They appear due to the lens design features. Just make the maximum zoom [specifically restricted to 1.15x] and viewing angle will slightly decrease [it will be around 30 mm EFL instead of default 26 mm].
-
In “Creative” video mode, the picture quality is slightly improved: original “CMR Picture Quality” was 50, now it is set to 99. Moreover, video recording in any resolution is carried through the profile “644028”, which allows increased bitrate up to 20 Mbps [initially it was possible to record only 1080p videos in this profile]. To exclude the cases of video recording with jerks, bitrate of the video stream in 1080p resolution is slightly lowered [before it was 20 Mbps, now it is adjusted to 19 Mbps].
INTALLATION OF HACKED FIRMWARE
CameraMod works only with [hacked firmware]
.
[Direct link to download BlackMOD FW]
[2020.10.01]
You must have an ability to write to system disk.
To install proper ROM firmware you need to:
- Install [Phoenix Service Software 2012.24.000.48366]
- Unpack zip with firmware to C:\Program Files (x86)\Nokia\Phoenix\Products\RM-807
- Launch Phoenix as admin
- File ► Open Product ► Select RM-807 ► OK
- Flashing ► Firmware update
- Product Code ► … ► Select FW ► OK
- Check Dead phone USB flasing
- Options ► Remove emmc.fpsx ► Confirm removal ► OK
- Press Refurbish ► Press OK ► Connect turned off phone
INTALLATION OF CAMERA-MOD
Before camera update make sure that in ROM Patcher+ [system application] enabled following options:
- c2z4bin FP2 [red circle with green mark]
- Open 4 ALL RP+ [yellow circle with green mark]
All of them should be in auto-start domain.
CameraMod packed to zip file: camera808_jpegquality_v2_0550.zip
Two text files:
10282edc.txt and 20027018
GO TO ►
c:\private\10202be9
Hacked camera application and dll file:
cxengine.dll and cameraapp.exe
FROM
zip\quality\sys\bin
GO TO ►
c:\sys\bin
!NB: If something goes wrong you can reset Nokia to stock settings via Dialer ► *#7370#
DETAILED CHARACTERISTICS OF THE “CREATIVE” MODE
Photo [with full resolution]
- 7728x5368 [41 MP]
- 7152x5368 [38 MP, 4:3]
- 7728x 4354 [34 MP, 16:9]
PureView 4:3
- 4000x3000 [12 MP]
- 3264x2448 [8 MP]
- 2592x1944 [5 MP]
- 2048x1536 [3 MP]
- 1600x1200 [2 MP]
- 7728x5368 [full resolution of 41 MP is wrongly identified as 2 MP, but it is not PureView actually!]

PureView 16:9
- 4000x2248 [9 MP]
- 3840x2160 [8 MP]
- 3264x1832 [6 MP]
- 3072x1728 [5 MP]
- 2592x1456 [4 MP]
- 2048x1152 [2 MP]
- 1920x1080 [alternate 2 MP]
Video
- 1920x1080 [19 Mbps, picture quality 99, audio 256 kbps stereo, zoom 4x]
- 1280x720 [18 Mbps, picture quality 99, audio 256 kbps stereo, zoom 6x]
- 864x480 [10 Mbps, picture quality 99, audio 256 kbps stereo, zoom 9x] - a blank [hidden button]
- 640x352 [7 Mbps, picture quality 99, audio 256 kbps stereo, zoom 12x]

- Custom JPEG compression settings. JPEG quality of your photos can now be increased!
JPEG compression can be adjusted in 3 different ways:
- When the profile settings are reset, both JPEG quality buttons will be inactive. In this case, the quality will be 85%.
- If you press the left or the right button, the value will be set to 95% or 100% respectively.
Remember that with installed patch if camera captures too much detail under very bright light camera app will crash. Examples: forest, grainy asphalt, computer monitor in closeup. Solution: temporary set camera to use original 95% jpg compression.
MODIFICATION CAN BE DOWNLOADED [HERE]
░ HANDS.DLL [SOME BASIC PHOTO TIPS]
First of all, still steady. Firmly hold phone with two hands. If you would like to increase overall stability take a seat or lean on something solid. Under bright light it is safe to shot in handheld mode. But in the evening you will need some support like tripod, monopod or some steady surface.
If you notice that phone’s viewfinder begins to show slow and laggy picture it is a sign that your exposure needed to be increased. So if you have 1/20, than you will need to set it to 1/100 or even faster 1/200. Exposures like 1/5, 1/10, 1/20 bring up very bright picture, but most of them can’t be used handheld. 1/200 or 1/500 are very fast one, but they need plenty of light, in other case picture will be too dark.
To archive good detail and smooth color gradients set ISO to minimal value. In case of Nokia 808 it is ISO 50. Never change it back, because even at ISO 100 quality of color gradients fall apart very quickly and that digital noise…
White balance is set to AUTO. Can be easily fixed later on in your favourite raster editor.
Nokia 808 camera is very demanding to photographer. Lack of stabilization and most of controls are manual. To get neat results you must totally understand what are you doing. Considering above mentioned things i don’t recommend to use hardware shutter button and suggest to use touchscreen instead to prevent blurred images.
░ PROCESSING [SOFTWARE PART]
So, the image processing. The aim of which is to achieve top-notch detail and make image look crisp’n’punchy. Followed actions are mandatory to achieve nice results. I’m using [Affinity Photo] . It’s like photoshop, but you are not involved into any kind of subscription robbery or sending every single action back to developer via incorporated telemetry.
- Before starting processing convert your JPGs into 16-bit TIFF files without any compression, to minimize quantization errors during workflow.
- Crop blurry corners, which in 100% cases have decreased resolution due to non perfect lens construction.
- Resize with cubic resampling to 3000x2000 resolution. This action destroys large chunk of noise and increases overall quality of each pixel.
- Apply delicate noise reduction. I recommend [Topaz Denoise AI] or Topaz Denoise [older version]. AI is a modern one, for those of you with cool multicore cpus and gpus, it uses machine learning to reduce image artifacts. It’s a little bit better than original one, but in terms of output quality difference is pretty marginal.
- Apply second pass of delicate noise reduction [if need]. Take a note that i always mention word delicate, because if you go too wild you can easily remove important details right with digital noise.
- Apply unsharp mask with 0.2-0.5 radius to the whole image. Values depends on original image softness.
- Apply selective sharpening to places of the image where details are washed out. But don’t go too far. Always keep in mind about artifacts which appear very quickly.
- Flatten image and save it with maximum JPG quality.
Finishing this section i would like to mention the fact than Nokia’s JPG engine is better than most modern RAW phones in terms of detail and image crispness. It’s not spoiled by ugly low-quality real-time denoiser. The only thing which is showing age of the device is dynamic range of captured light. But with some knowledge of image processing you could easily eliminate this bottleneck.
In simple light conditions one image with post processing is enough. In complex ones [exposure bracketing] & [HDR] are our saviors. But this technique requires sturdy tripod and much more time.
░ SOFTWARE LIST [LITTLE BREAKDOWN OF GOOD PHOTO EDITING APPS]
Some cool applications of my personal choice.
[Xnview] ► neat picture browser
[Capture One] ► professional RAW converter
[Topaz Denoise AI] ► very effective denoiser
[Photomatix Pro] ► create HDR images
[Affinity Photo] ► raster editor of my choice
[Nik Collection] ► easily apply great effects
[Exposure X5] ► another collection of handy tools
[AutoPano] ► stitch panoramas
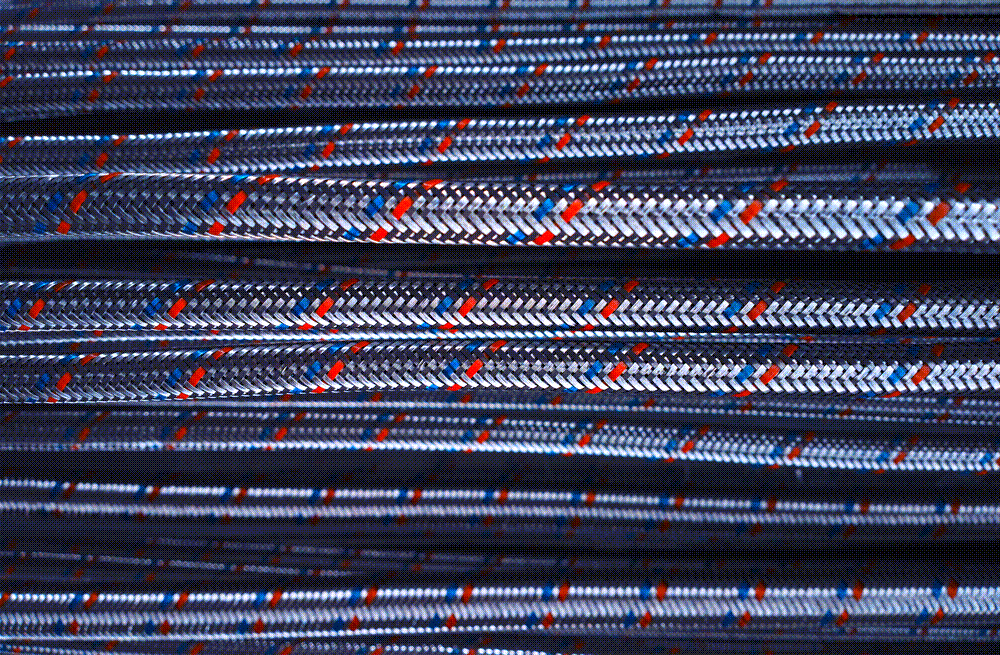
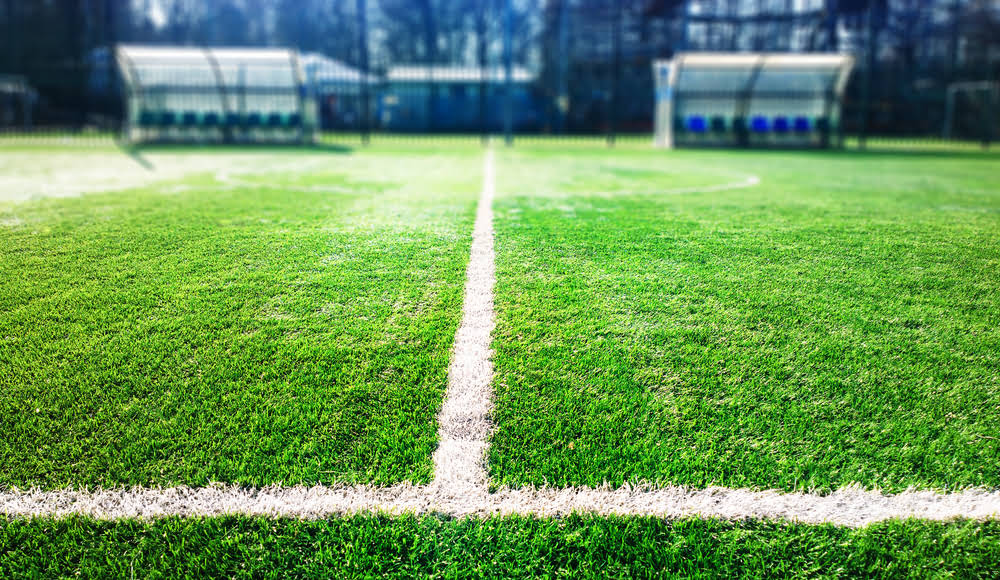
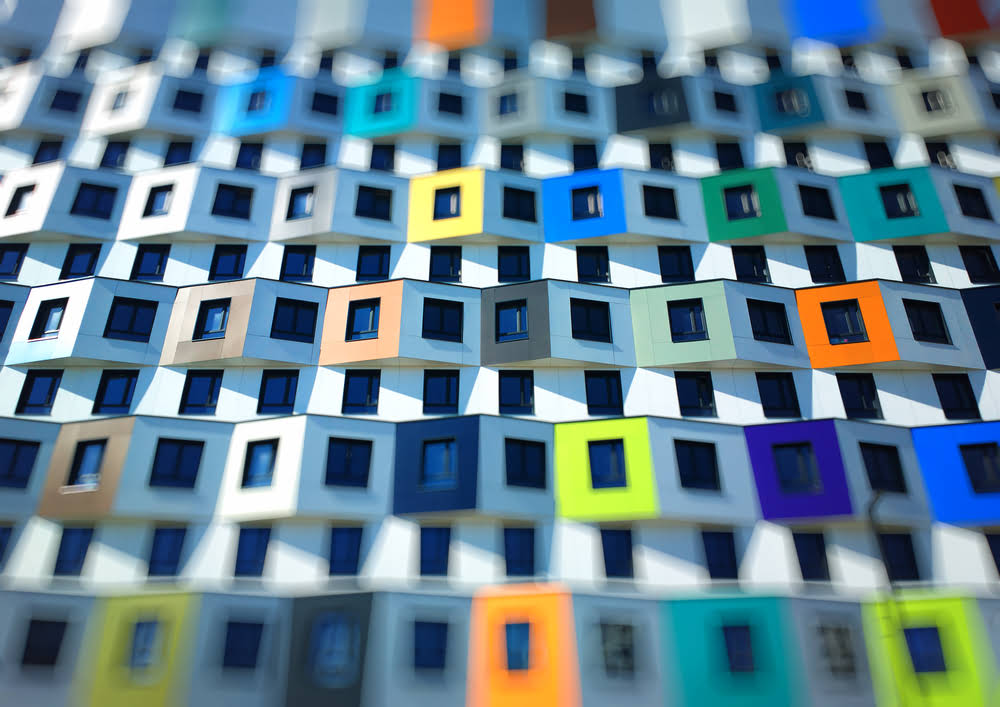
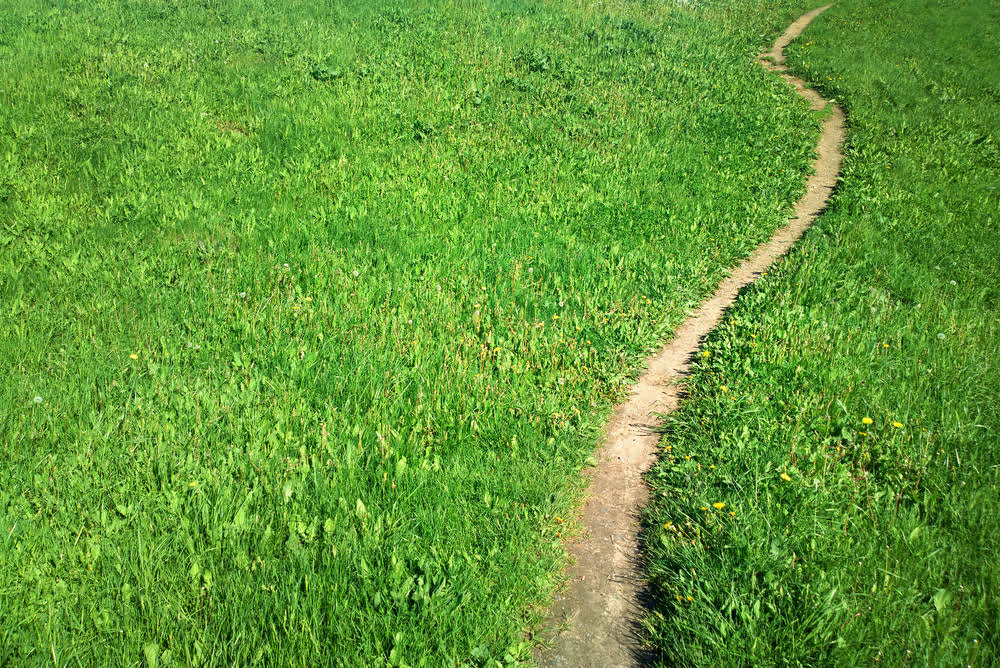
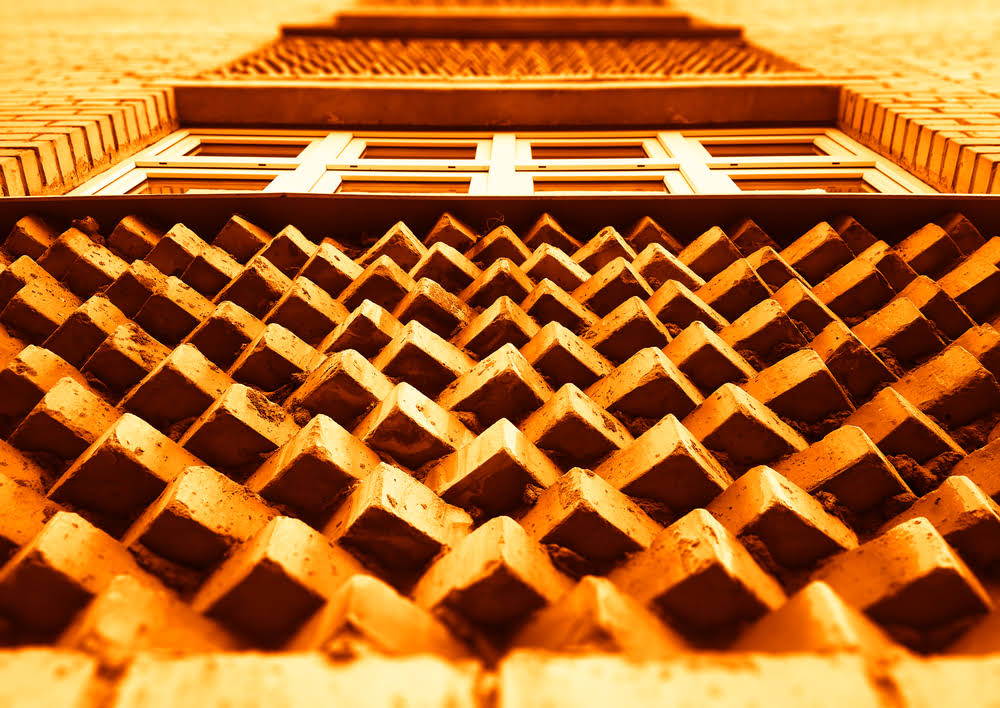
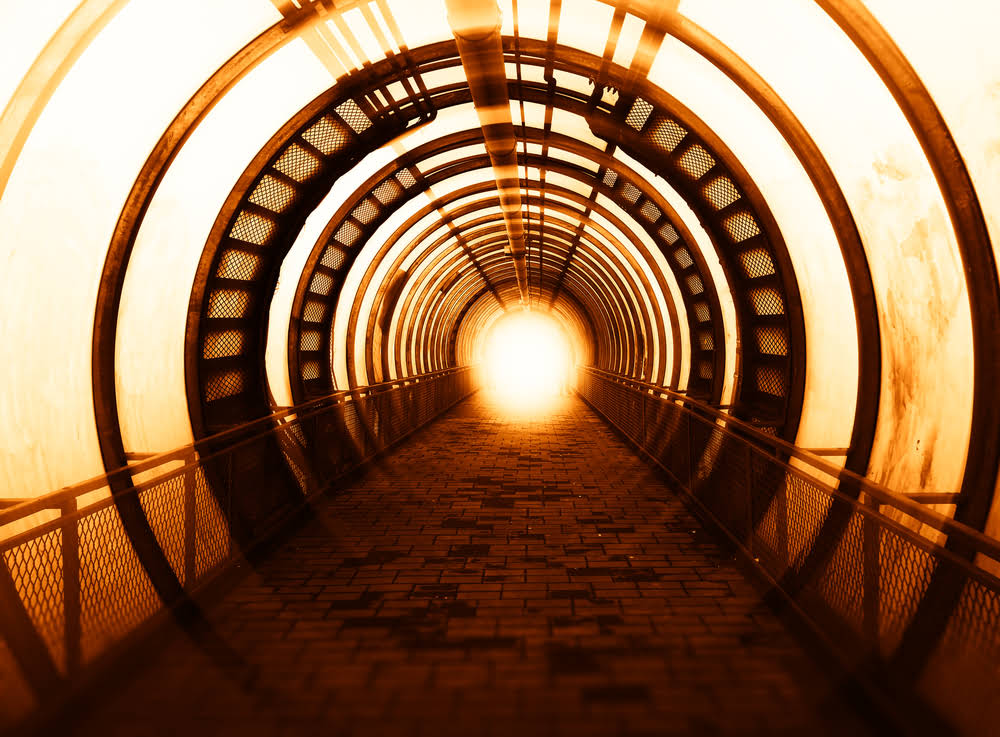
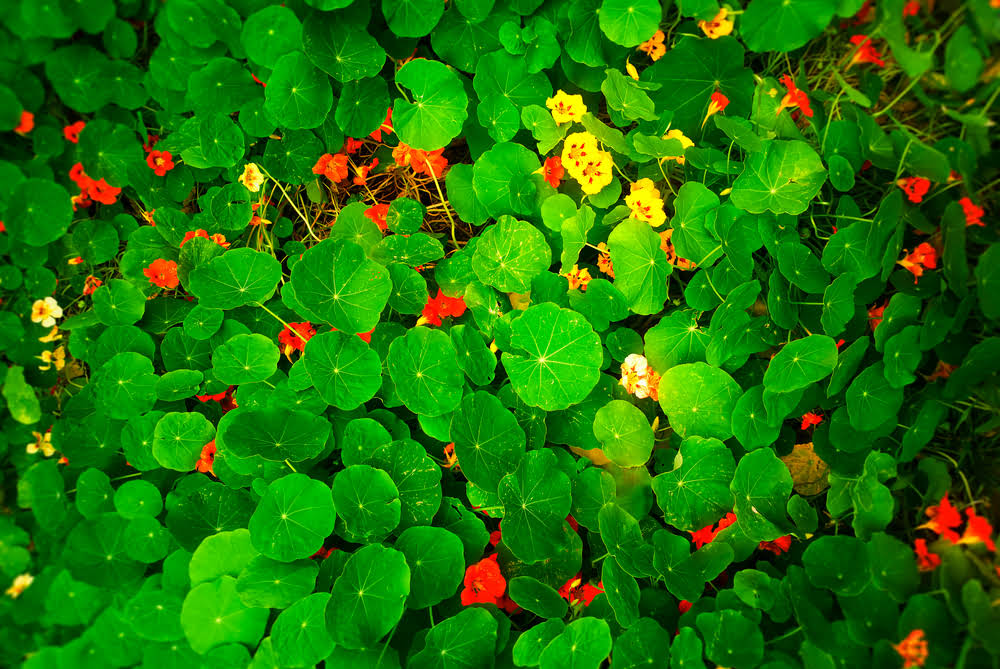
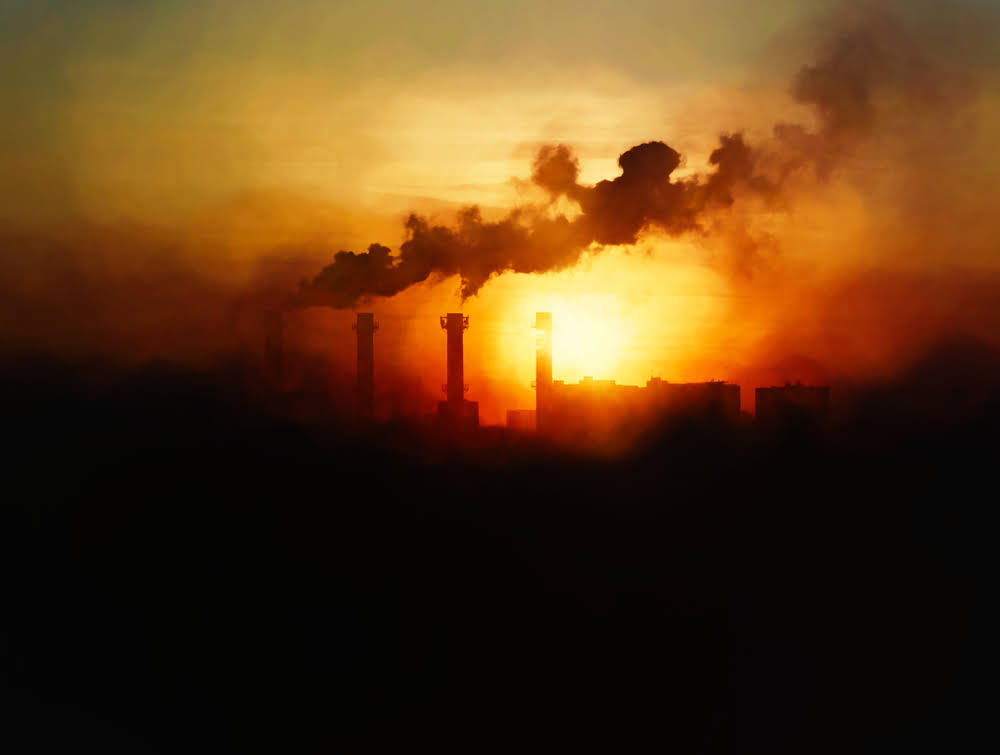
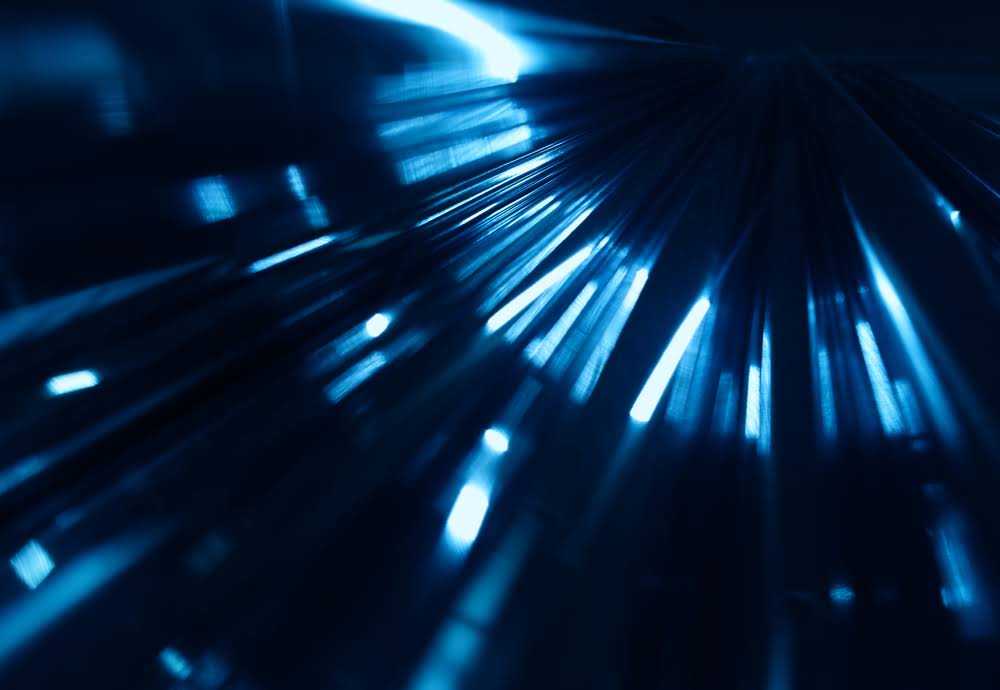
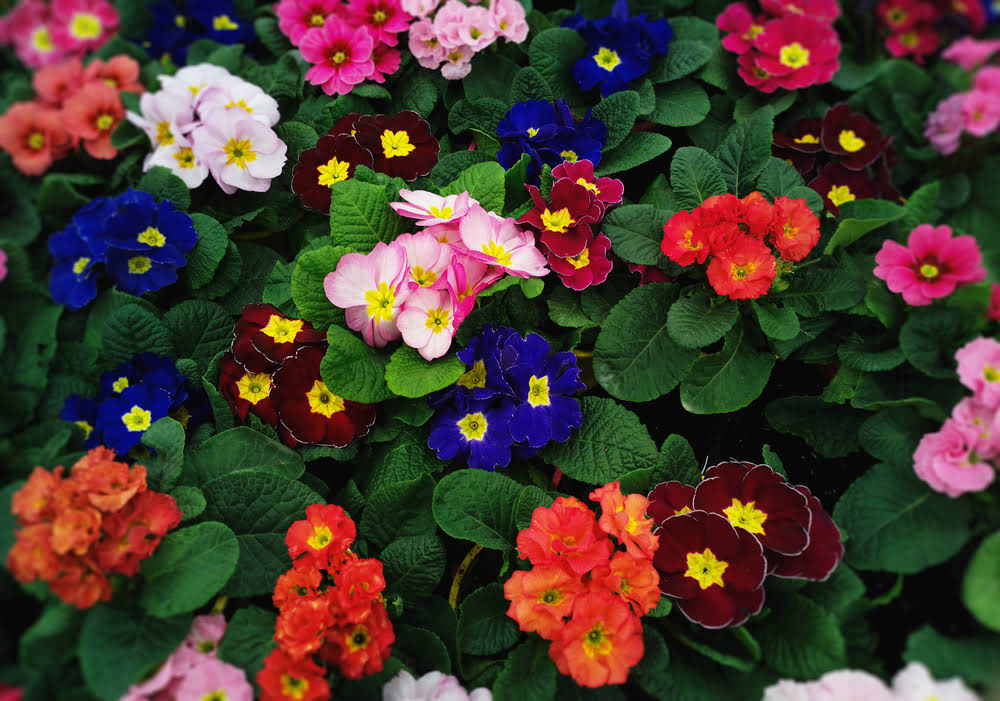
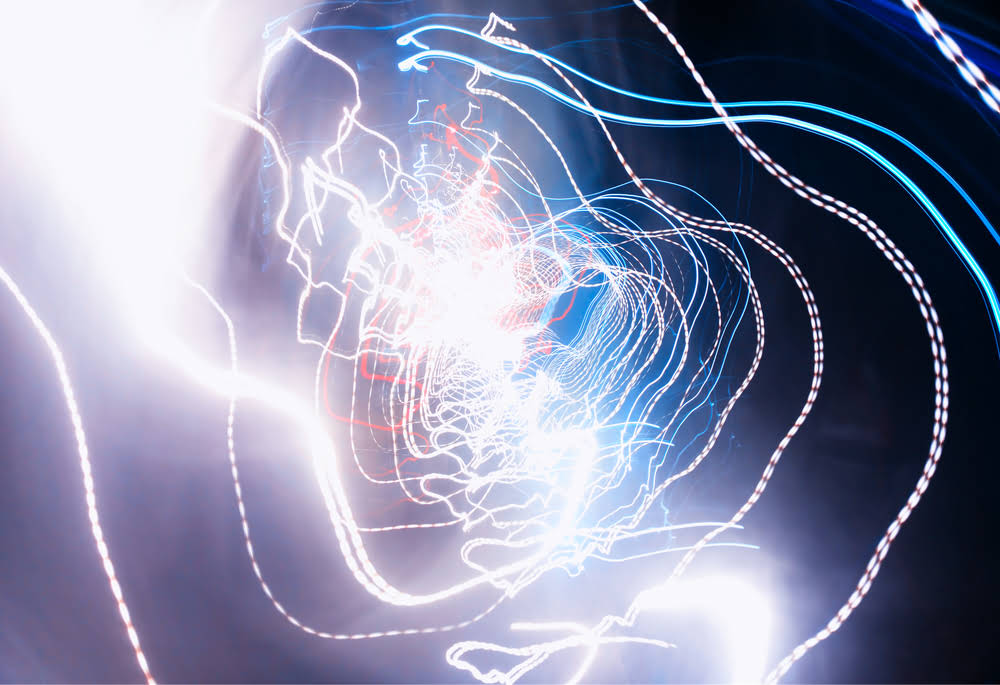
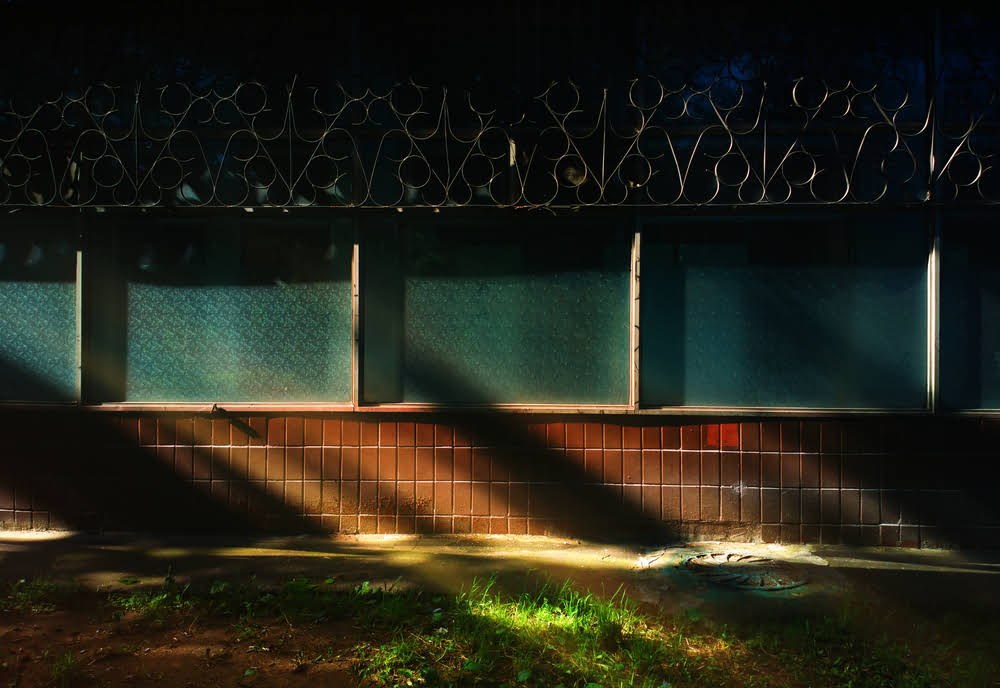
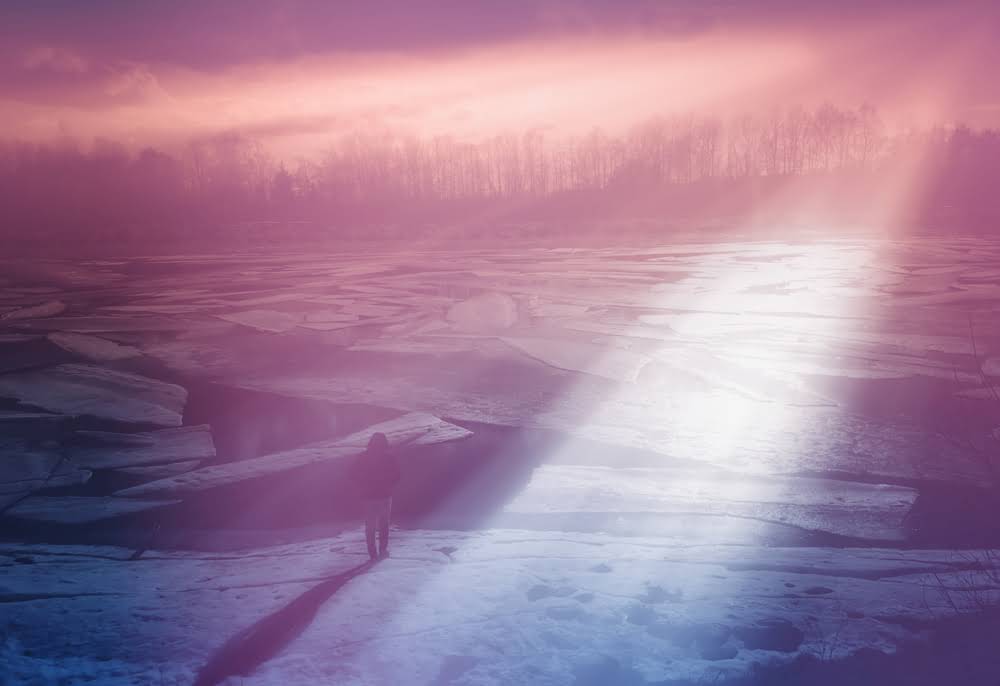
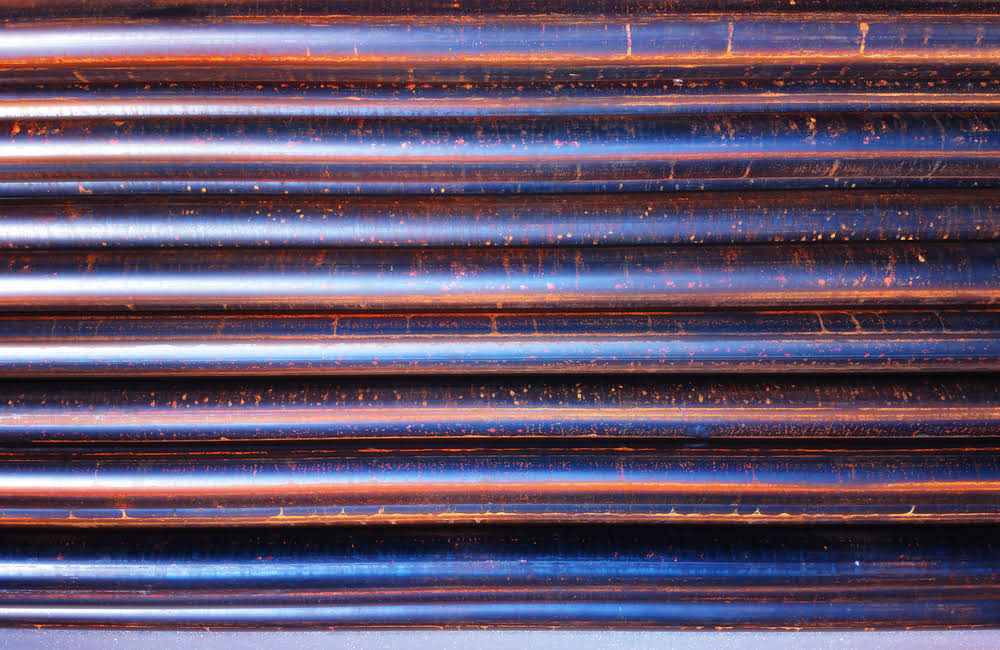
░ DEMO PICTURES
Pictures were selected randomly. All imagery in this section belong to [spacedrone808 [c]]


█ CONCLUSION
As you can see with straight hands, decent cameraphone and some knowledge in picture processing pretty good results could be achieved. Follow my blog to obtain more useful information.
